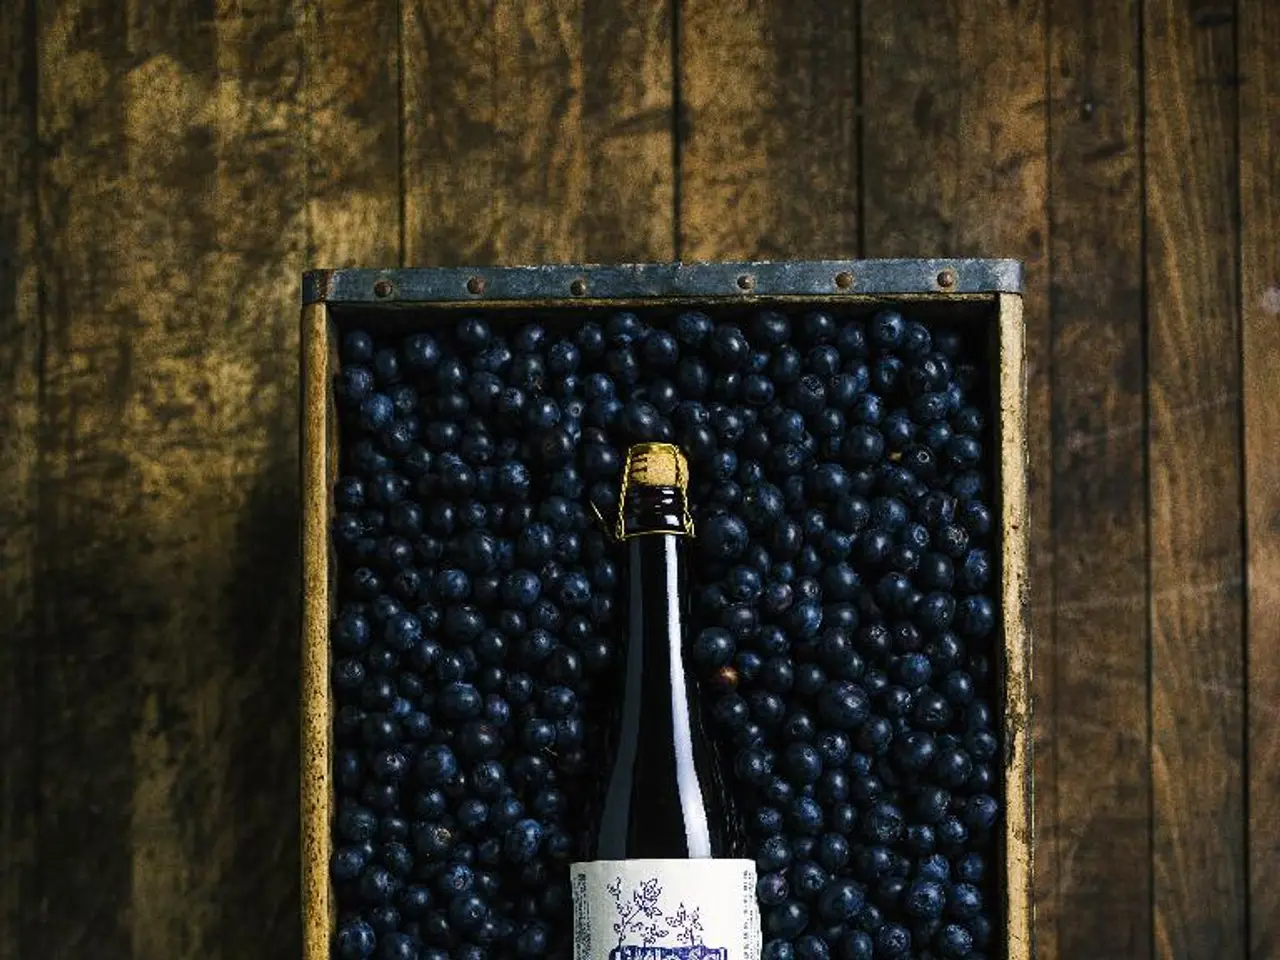
Preservated Mixed Berries undergo the process of fermentation
Fermenting berries is a simple and rewarding process that transforms these delicious fruits into a delightfully tart and faintly effervescent treat. This article will guide you through the steps of fermenting berries, including the use of starter cultures and fermentation weights, to ensure a successful and safe fermentation.
Starter Cultures
Berries contain natural wild yeasts and bacteria, but adding a starter culture can speed up fermentation or contribute specific flavors. Common starter options include whey (from cultured dairy), raw honey, apple cider vinegar with "mother," or sour kombucha. These introduce beneficial microbes and acidity that support a successful ferment without overpowering the fruit's taste [2].
For example, whey is used to accelerate fermentation without adding much flavor, while vinegar or kombucha add tanginess [2]. It's important to note that kombucha and water kefir can produce a slimy texture from time to time when used as a starter culture.
Fermentation Weights
Weights are essential to keep the berries fully submerged under their own juice or added brine, preventing oxygen exposure which can cause spoilage or mold. Typical weights include fermentation stones, glass weights, or even a smaller jar placed inside the fermentation vessel [1][4].
Basic Process for Fermenting Berries
- Gently wash and prepare the berries (whole or crushed depending on desired texture).
- Place berries in a clean fermentation jar or vessel, leaving some headspace.
- Add optional starter culture (like a spoonful of whey, or a bit of kombucha).
- Add a brine if desired (often a saltwater solution of about 2-3% salt by weight) or rely on the fruit’s own juice if sufficient.
- Place a fermentation weight to keep all berries submerged.
- Cover loosely or with an airlock lid to allow gases to escape but exclude contaminants.
- Leave at room temperature (typically 65-72°F / 18-22°C) for several days, checking for bubbling and tasting until the desired flavor and acidity develop [1][4].
- Once fermentation is to your liking, transfer to refrigerator for storage to slow fermentation.
For longer ferments or wine-style berry fermentation, yeast fermentation takes longer (days to weeks), fermenting released sugars into alcohol, often with occasional stirring or shaking [3][5]. But for simple lacto-fermentation, the process focuses on lactic acid bacteria fermenting sugars in an anaerobic environment maintained by the weight.
Enjoying Fermented Berries
Fermented berries can be pureed and used as a berry sauce over yogurt or ice cream, or dropped whole into a blender for a smoothie. A bottle of fermented berry puree can be stirred into a bottle full of Jun tea to make a berry soda.
With these steps in mind, you're now equipped to embark on your own berry fermentation adventure. Happy fermenting!
References
[1] https://www.culturesforhealth.com/blog/how-to-ferment-berries/ [2] https://www.thespruceeats.com/how-to-ferment-berries-3269231 [3] https://www.thespruceeats.com/berry-wine-recipe-3269233 [4] https://www.thespruceeats.com/berry-wine-recipe-3269233 [5] https://www.thespruceeats.com/berry-wine-recipe-3269233
- Adding starter cultures, like whey, raw honey, apple cider vinegar, or sour kombucha, can speed up fermentation or contribute specific flavors to the berries.
- Weights, such as fermentation stones, glass weights, or smaller jars, are necessary to keep the berries submerged and prevent mold or spoilage.
- The basic process for fermenting berries involves washing and preparing the berries, adding optional starter cultures, placing a fermentation weight, covering with a loose lid or an airlock, and leaving at room temperature for several days.
- Fermented berries can be used in various health-and-wellness, food-and-drink, and lifestyle applications like blending with smoothies, creating a berry sauce, or making a berry soda.


